Tutorial
Trimming a Brisket: What to Cut, What to Keep
EWEthan Wilder (pen name)Published 2026-08-216 min read
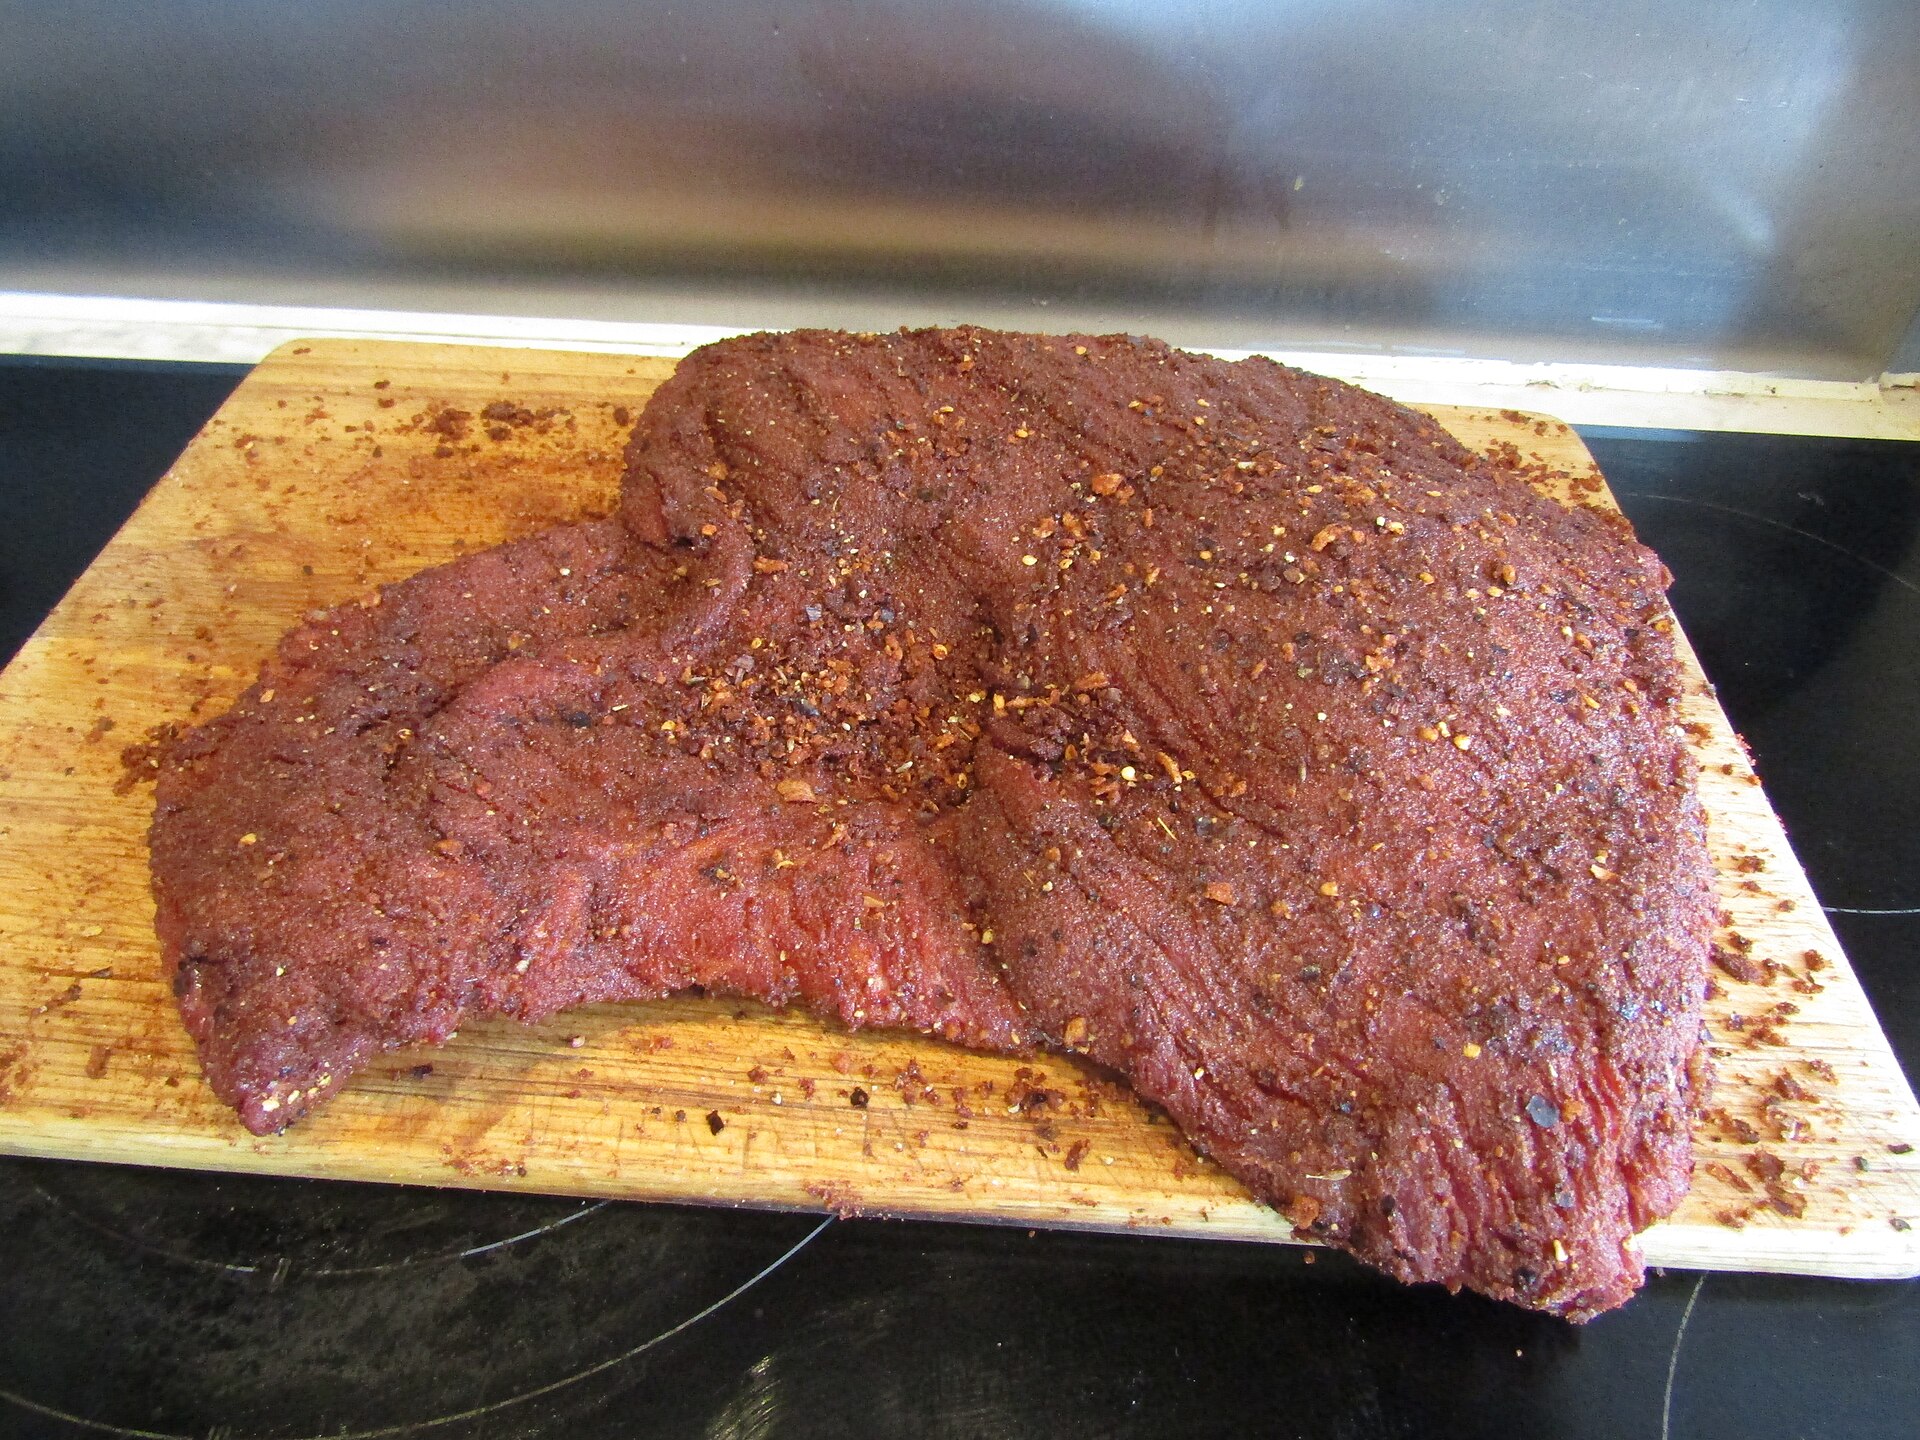
Image source: File:-2022-04-30 Slow cooker barbequed beef Brisket, Trimingham, Norfolk (1).JPG · CC BY-SA 4.0 via Wikimedia Commons
Trimming does not mean removing every visible piece of fat. It means making the brisket more even, removing hard fat and silverskin that will not help the cook, and protecting the thin flat from drying out. Work cold, keep the first trim modest, and let the shape of the cut guide the knife.
Why trim at all
Trimming does three jobs: it removes hard fat that will not render in the time a brisket cooks, it evens the thickness so the flat and point cook at similar rates, and it lets seasoning actually reach the meat instead of a wall of fat.
Manufacturer guides for smoking brisket list trimming as the first step of the cook for exactly these reasons, since a tidy, even surface also produces more consistent bark.
- A trimmed brisket seasons evenly and cooks evenly.
- Removing hard fat prevents greasy, unrendered pockets.
- An even shape means the flat does not dry out waiting on the point.
Tools and prep
You need a sharp, flexible knife, a boning or fillet knife works well, plus a sturdy cutting board and paper towels. Cold meat trims better than warm meat, so keep the brisket refrigerated until you start.
Work on a washable board and keep raw beef separate from anything ready to eat, because USDA food-safety basics apply at the prep counter as much as at the smoker.
- A sharp flexible knife follows the fat line better than a stiff chef's knife.
- Trim on a clean board and wash it, the knife, and your hands afterward.
- Chill the meat if your trim runs long.
What to cut
Cut away the thick cap of hard fat on top, leaving a roughly even quarter-inch layer: thick enough to protect the meat, thin enough to render and season. On the flat, look for the broad lean face; on the point, expect deeper seams of soft interior fat and keep that marbling rather than shaving the section flat.
Silverskin, the thin shiny membrane, does not break down in the smoker, so slice it off wherever you find it, and trim ragged edges and the thin, dry tail for a clean, even profile.
- Thick fat cap: trim toward a roughly even quarter-inch layer.
- Hard internal fat pockets: remove what will not render.
- Silverskin and ragged edges: cut away for even bark and even cooking.
What to keep
Keep more than you think you need. A brisket stripped of all its fat cooks dry and brittle, and the point's internal fat is what makes it the juicy half of the cook. When you are unsure, leave the fat on, because you can always trim more later but you cannot glue it back.
Newer cooks almost always over-trim. If the process feels unfamiliar, keep the first trim modest and tidy, then adjust on the next cook based on how this one finished.
- A quarter-inch fat cap protects the meat, not wastes it.
- The point keeps its interior fat on purpose.
- Less is more for a first trim.
After the trim: safety and the cook
Season the trimmed brisket and keep it refrigerated until the smoker is steady. For the cook itself, USDA's safe minimum for whole cuts of beef is 145°F with a three-minute rest; smoking well past that for tenderness is normal barbecue practice and a texture decision, not a USDA number.
Wash the knife, board, and your hands after handling raw beef, and refrigerate leftovers promptly. Trim smart, keep the meat cold, and let your thermometer run the cook.
- 145°F plus a three-minute rest is the USDA minimum for whole beef cuts.
- Finish temperatures for tenderness are a choice, not a safety rule.
- Keep trimmed meat refrigerated until it goes in the smoker.
Sources
Sources used for this page
Ethan Wilder (pen name)
Research-based guides · read the Editorial policy
Keep planning
More in Smoking Guides
- 01How to Season a Flat-Top Griddle: Oil, Layers, and CareTutorial · 6 min read
- 02How to Smoke a Brisket: a First-Timer's Plan From Trim to RestTutorial · 6 min read
- 033-2-1 Ribs: the Method, Temperatures, and TimingTutorial · 6 min read
- 04Smoker vs grill: do you need both?Comparison · 5 min read
- 05Flat-top griddle vs grill: what each does bestComparison · 5 min read