Equipment
How to deep-clean a grill before the season
SSSmoke & Sear Editorial TeamPublished 2026-07-146 min read
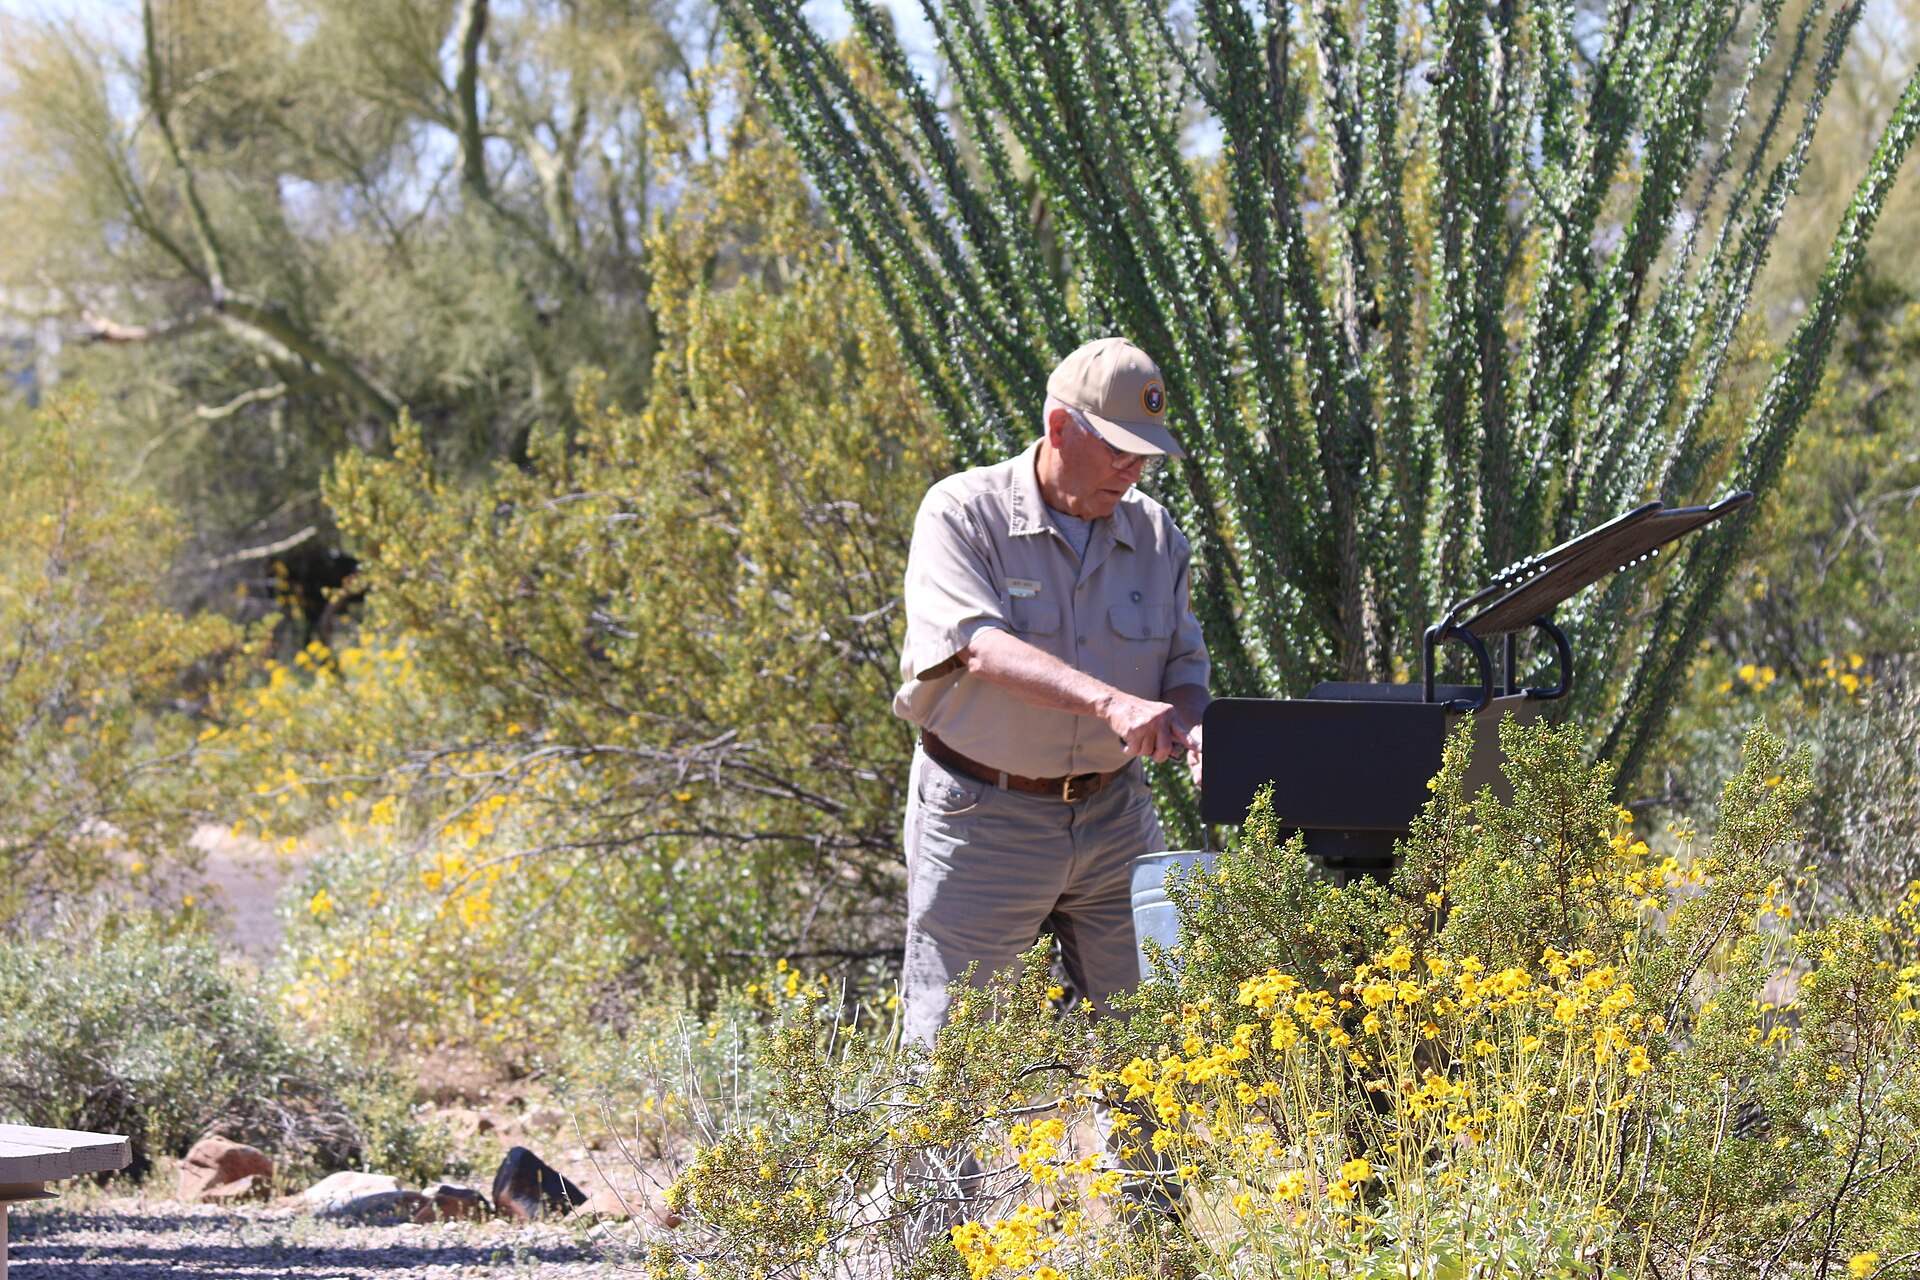
Image source: File:Cleaning grills and sweeping campsites is one way volunteers make a huge difference to those visiting the monument. (039adff9-472b-4cb5-b79d-49371f38ee64).JPG · Public domain via Wikimedia Commons
A grill that has sat under a cover can hold grease, ash, insects, or mold. Clean it before the first meal of the season, then inspect the fuel system before lighting it. This page covers gas, charcoal, and pellet grills; the owner's manual decides which panels and burners may be removed.
Why the pre-season clean is worth the morning
Food safety starts with a clean cooking surface. USDA guidance on cleanliness is blunt: wash hands often, keep kitchen surfaces clean, and keep raw meat and poultry juices from touching anything that will later hold cooked food. A grill that sat all winter adds a second layer of risk, because leftover residue can turn rancid, attract insects and rodents, or grow mold when the cooker has been stored in a humid garage or shed. Rancid grease also smokes at lower temperatures, which means bitter smoke and harsh flavor on the very first cook of the season.
Cleaning the grill is not a cosmetic step. It is the first safety step of the season.
Hang the timing on the season, not on the calendar alone. Deep clean before the first cook and after the last one, and keep the lighter routine in between. Gas, charcoal, and pellet grills share the same logic, because old grease is what feeds flare-ups and bitter smoke on every fuel type. Pellet grills need one extra check in spring: manufacturers recommend inspecting stored cookers for mold and doing a full clean before they fire up again. Grease left to pool in the drip tray over the fall is the first thing to flare up in spring, so it gets cleaned with the rest of the cooker.
Work top to bottom through the cooking chamber
Work from the top down so falling residue never re-dirties a surface you just finished. Start with the grates while they are still warm, because stuck-on food lifts far more easily at that moment; take them out, wash both sides in warm soapy water, and set them aside to dry. Move down to the heat shield, drip tray, and flavor bars, and degrease each one with a grill cleaner or a paste made from vinegar and baking soda. Finish at the bottom of the barrel, where last season's grease tends to pool.
Choose tools that cannot leave debris in food. Wire-bristle brushes can shed bristles, and a loose bristle in cooked meat is a serious hazard, so most manufacturers now steer owners toward nylon brushes, scrapers, or wooden paddles. When you do use a cleaner, put it on a cloth or on the removable part, never directly on an igniter, burner opening, controller, or electrical connection. Rinse removable grates until no cleaner remains, dry them completely, and only then return them to the grill. Wipe the lid and the outside of the barrel while the grates soak, because grease collects there too and never touches the food.
Dry the cooker fully before you cover it. Moisture is what the mold was waiting for.
A few habits turn the deep clean into a repair job: spraying cleaner straight into the burner openings, washing the grease catch while it is still hot, or scraping rusted grates back into service instead of replacing them. When a part is beyond cleaning, the manual, not extra elbow grease, is the next step.
- Scrape grates warm; wash them in warm soapy water.
- Degrease the barrel and drip tray with a grill cleaner or vinegar and baking soda.
- Empty and scrub the grease catch at the end of every deep clean.
Fuel-specific checks while you are in there
Each fuel type has a short inspection list, and most of it takes less time than the scrubbing. On a gas grill, check the burner tubes, igniters, and hoses, and clear clogged burner ports with a small tool without enlarging them; replace anything cracked, corroded, or worn according to the manual before you light it. On a charcoal grill, shovel out the ash only after it is completely cool, because ash can hold heat for hours, and look over the bowl and grates for rust that needs sanding or replacing.
On a pellet grill, vacuum the firepot and the barrel, empty and vacuum the hopper so no old pellets are left to absorb moisture over the off-season, and check the auger tube for stale pellets after winter storage. If the hopper sat damp all winter, discard those pellets rather than running them through the auger, since moisture-swollen pellets can jam the feed. Whatever the fuel, the final step before the first cook is a burn-off: fire the grill hot with the lid closed for a short window to burn away anything the rags and brushes missed.
Do not use the burn-off to hide a fuel-system problem. A cracked gas hose, damaged regulator, or wet pellet feed is a stop sign, not a seasoning note.
A routine, not a marathon
Keep the deep clean rare and the wipe-downs regular. Once or twice a season is enough for the full teardown if you wipe grease after fatty cooks, so it never has time to build a crust. Treat the thermometer as part of the cleaning kit, because a probe that touches raw meat and then cooked meat is a cross-contamination vector; wash probes between uses and keep your tools dry between cooks. When it is time to judge whether food is done, trust the thermometer and compare the reading with the USDA safe-temperature table rather than color or clear juices.
The first cook of the season is also a good moment to refresh the holding rules. Refrigerate perishable leftovers within two hours, and do not let food sit in the 40°F to 140°F danger zone while you eat; a clean grill does not change that requirement. If the food stayed out longer, the rule is simple: when in doubt, throw it out.
Finally, schedule the clean before you need it. Mark one dry weekend in early spring and one in fall, and your grill starts and ends the season in the same condition.
- Deep clean before the first cook and after the last one.
- Wipe grease after fatty cooks so it never builds a crust.
- Wash thermometer probes and keep tools dry between uses.
Sources
Safety and cleaning sources behind this checklist
Smoke & Sear Editorial Team
Research-based guides · read the Editorial policy
Keep planning
More in Equipment
- 01How to Choose a Pellet Grill: Size, Features, and What to SkipEquipment · 5 min read
- 02Pellet Grills 101: How They Work and Who They Actually SuitEquipment · 5 min read
- 03How to Choose Your First Smoker: Pellet, Charcoal, Electric, or KamadoEquipment · 5 min read
- 04Smoker vs grill: do you need both?Comparison · 5 min read
- 05Flat-top griddle vs grill: what each does bestComparison · 5 min read